
Deepdream Style Video Transfer Tool
I was introduced to deepdream in one CSC413 lecture about neural network interpretability. As it has pretty cool visual effects, I started to probe into it this summer. So, on the basis of some existing deepdream style transfer projects on github, I developed a tool that transfer video into deepdream style, and here is the introduction video to the tool and its parameters:
And here is the link to my github repo: Deepdream Video Transfer, where you can find more detail inside README.md. Also, I’ve provided a google colab notebook where you can try it directly without worrying about GPU and dependencies: notebook here!
What is deepdream
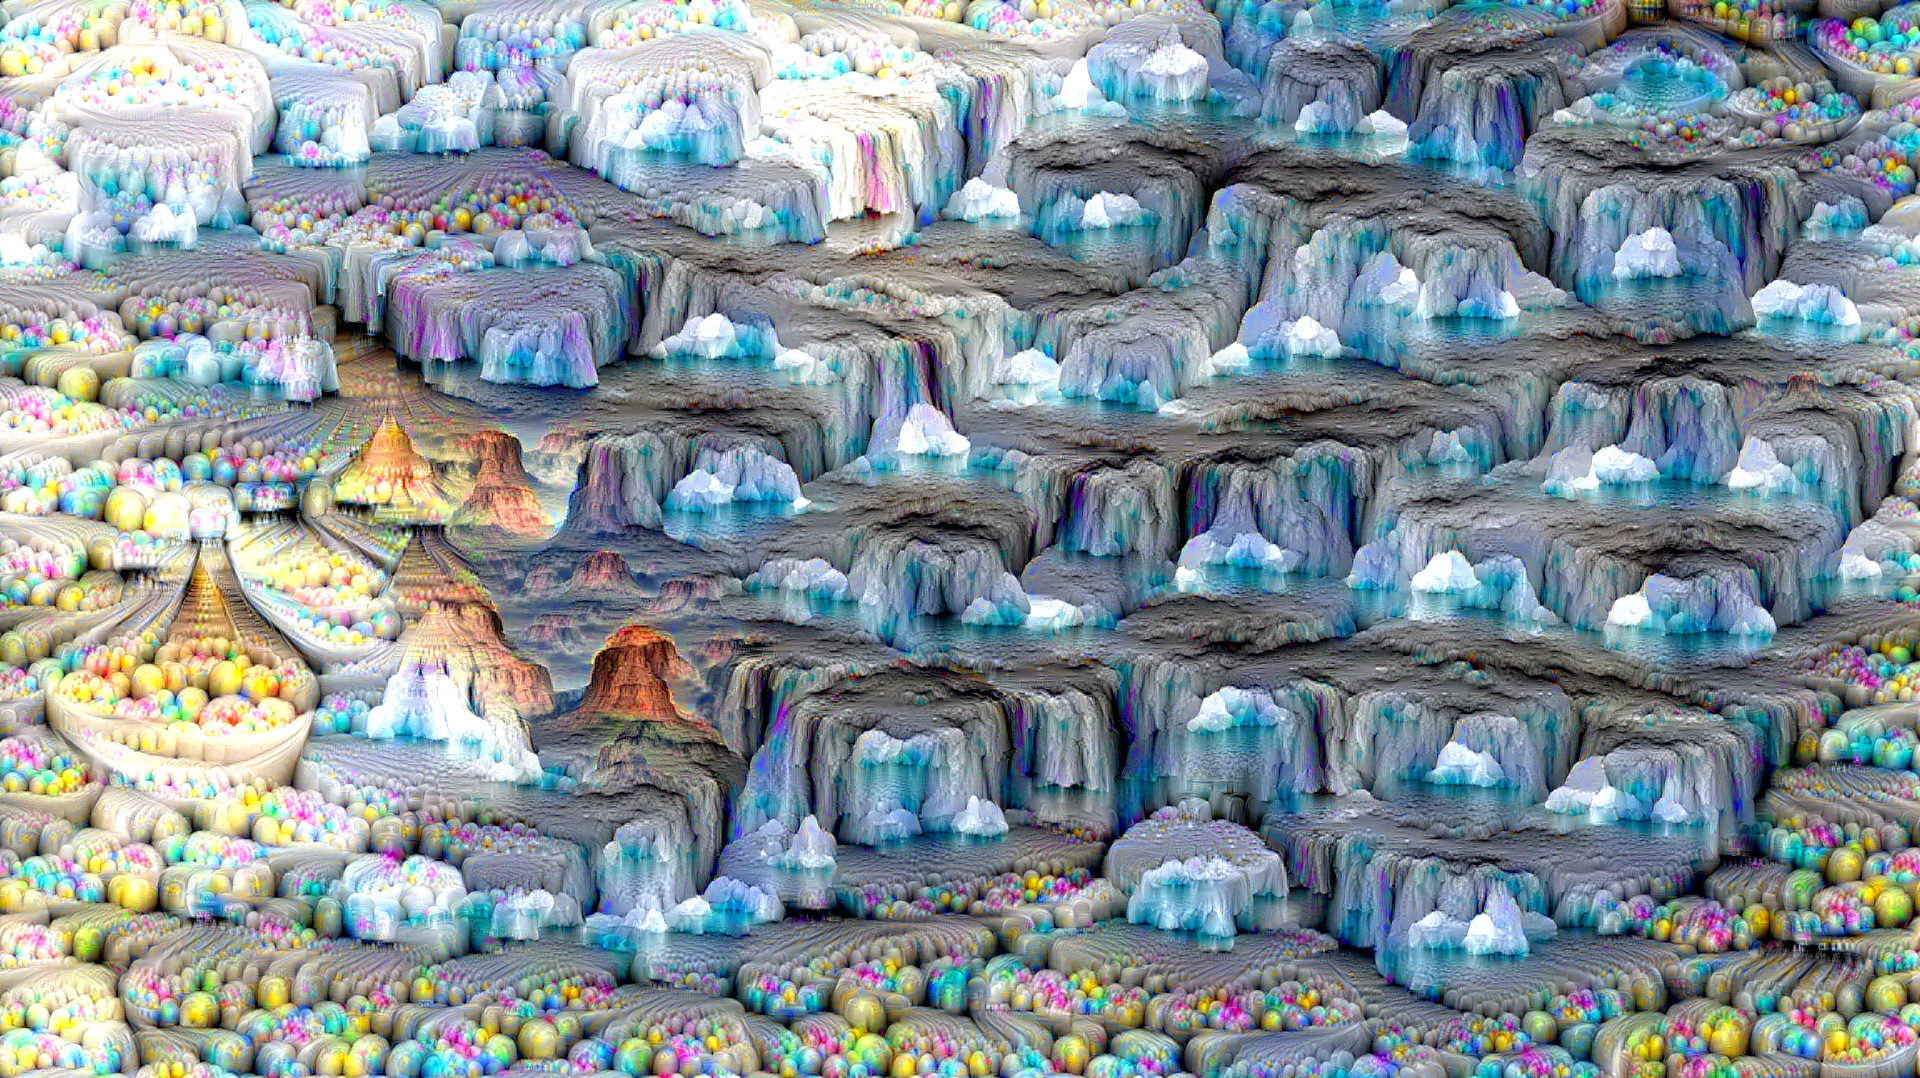
Deepdream is a specific neural network output that starts from a arbitrary image and a designated target layer, and then iteratively update the image to maximize the activation of the target layer. The result is a image that is similar to the original image but also contains some features of the target layer. It is originally designed to interpret the neural network, but it also has some cool visual effects. This is how the deepdream transferred image looks like with more iterations:
| source | one iteration | two iterations |
|---|---|---|
 |
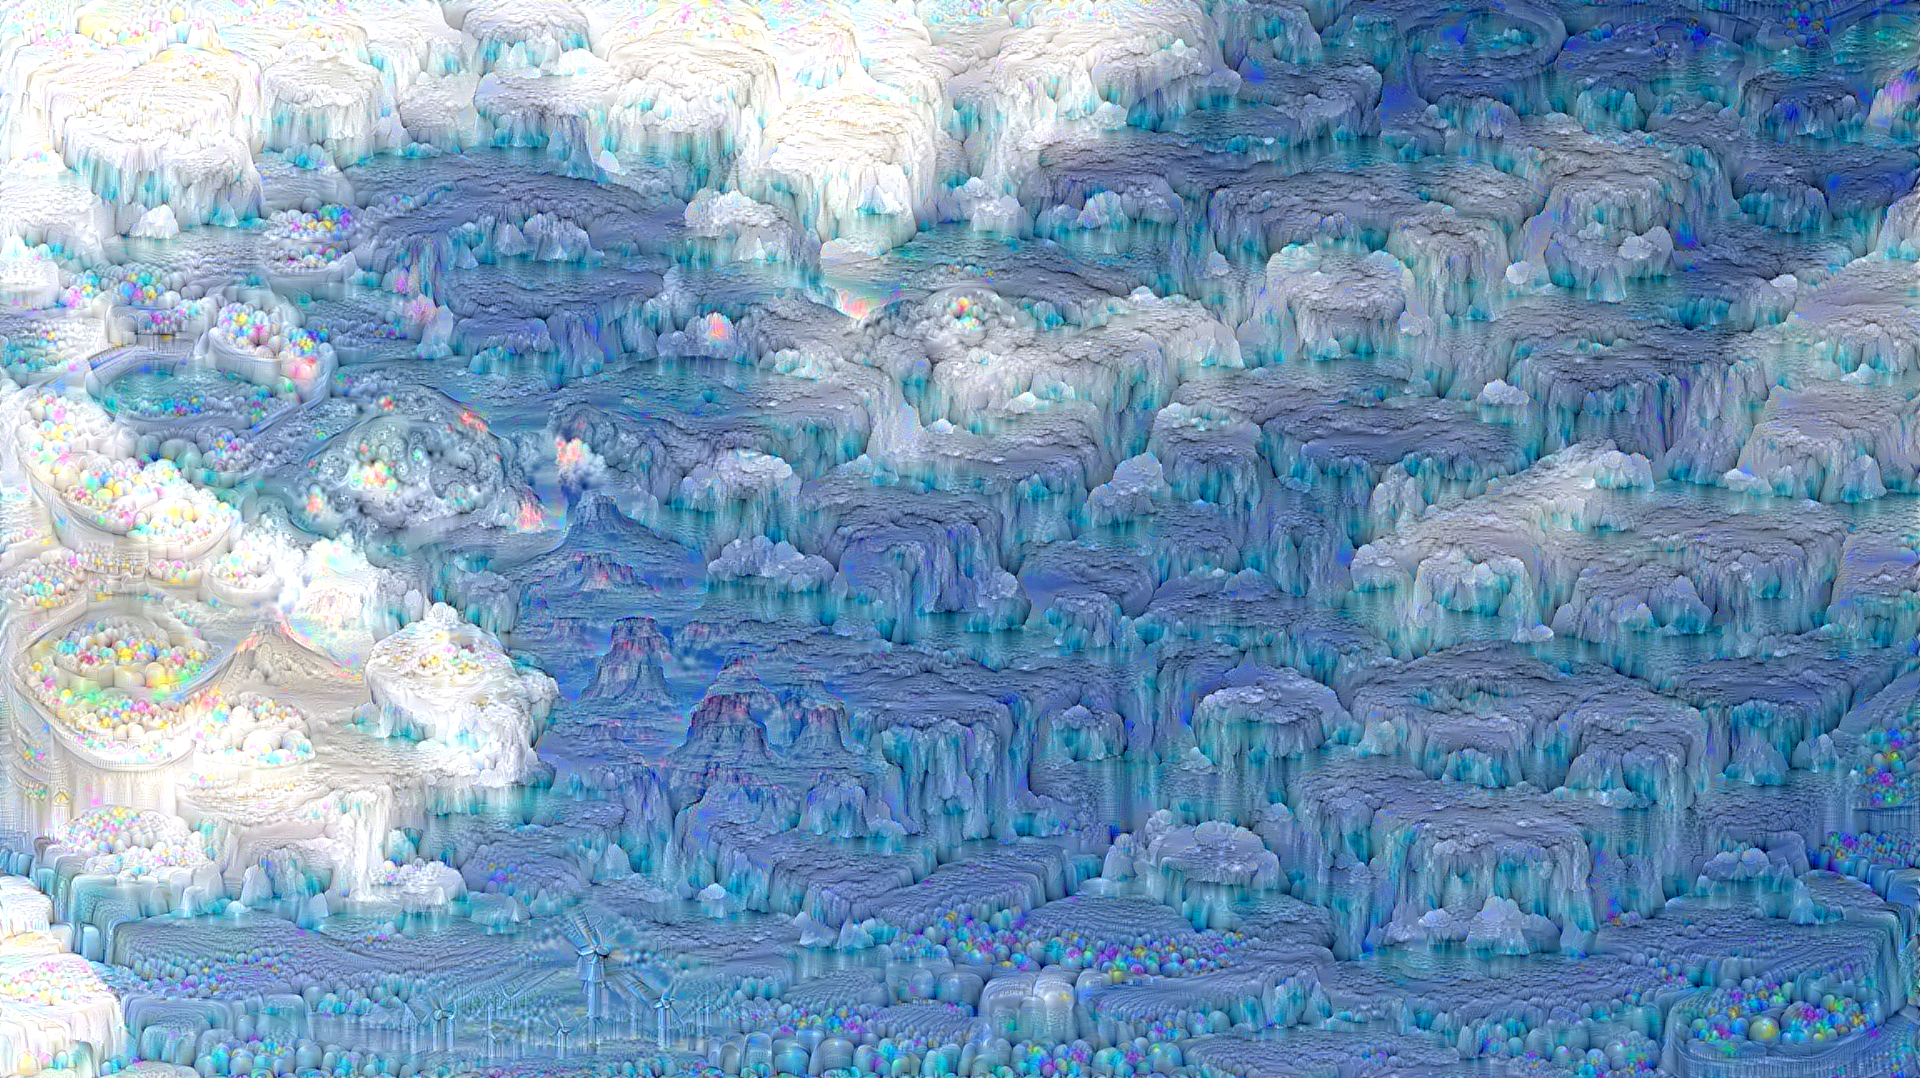 |
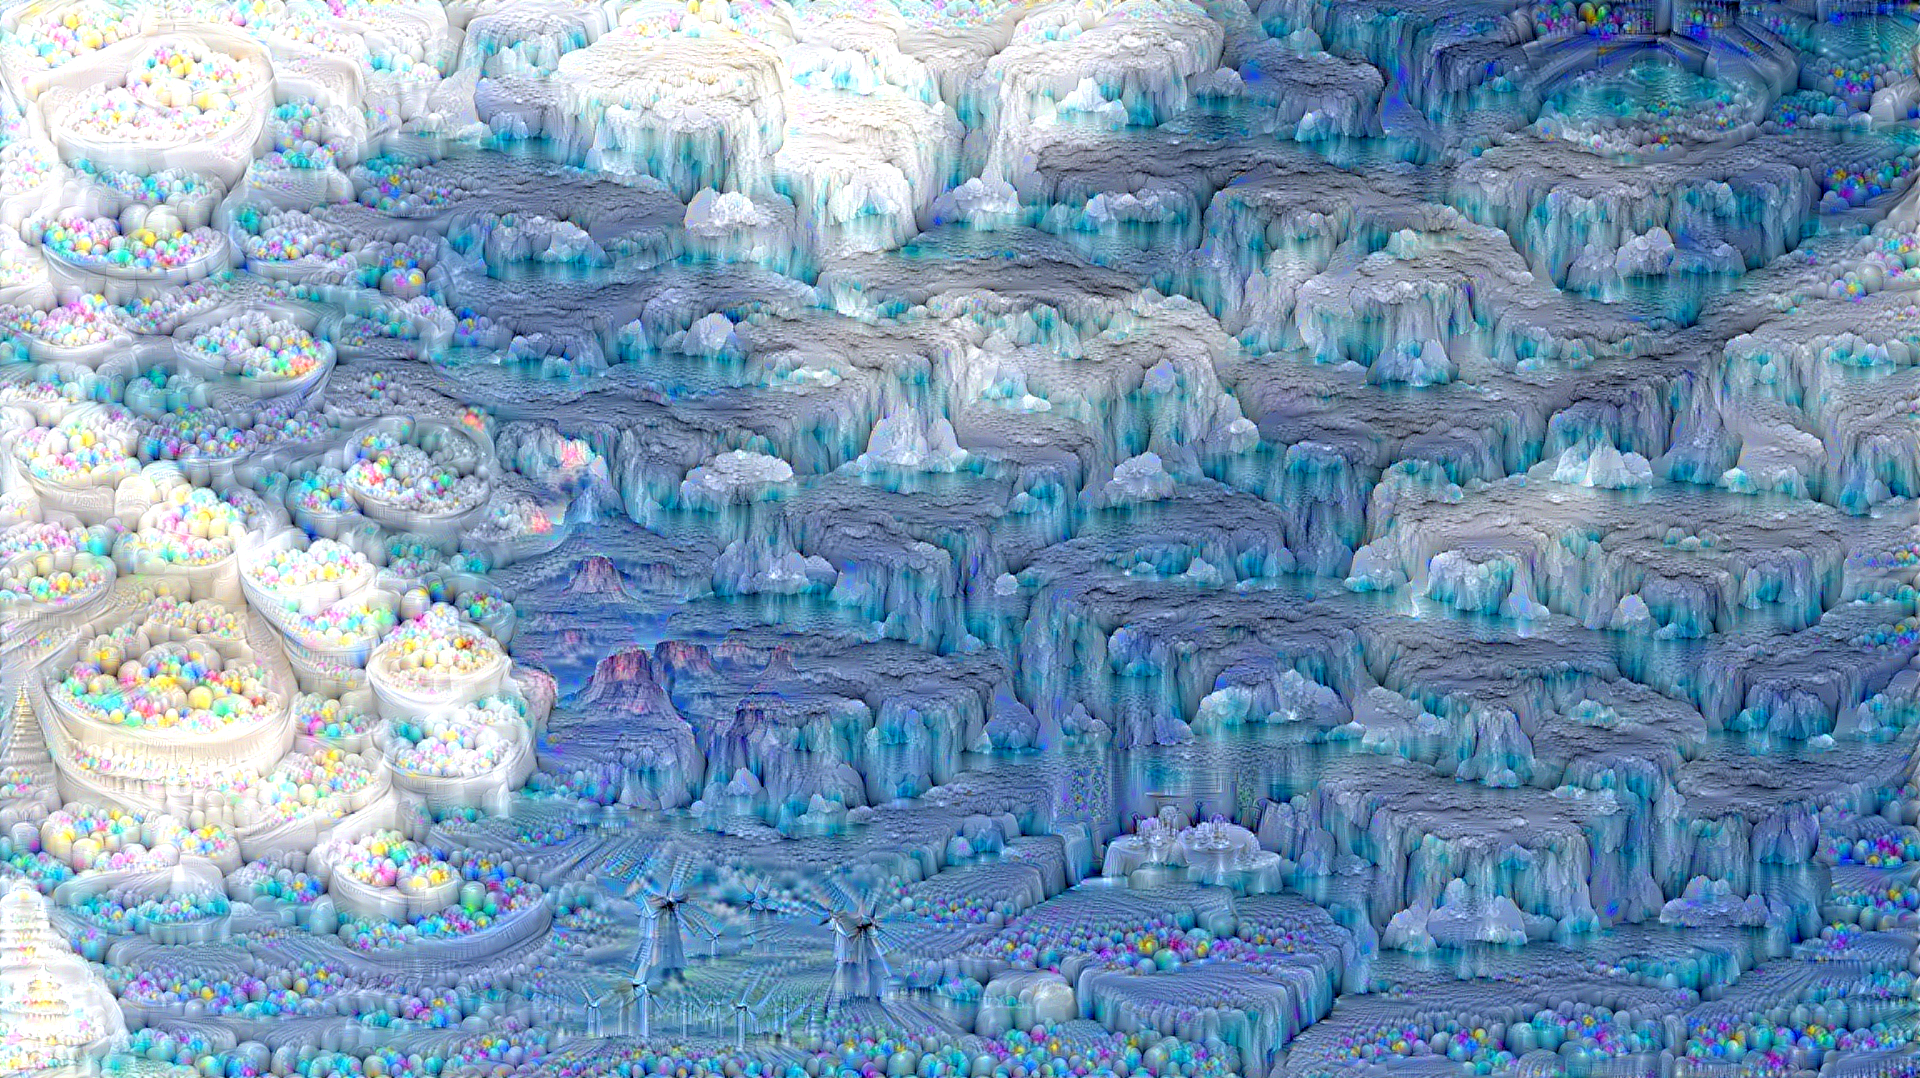 |
| four iterations | eight iterations | sixteen iterations |
|---|---|---|
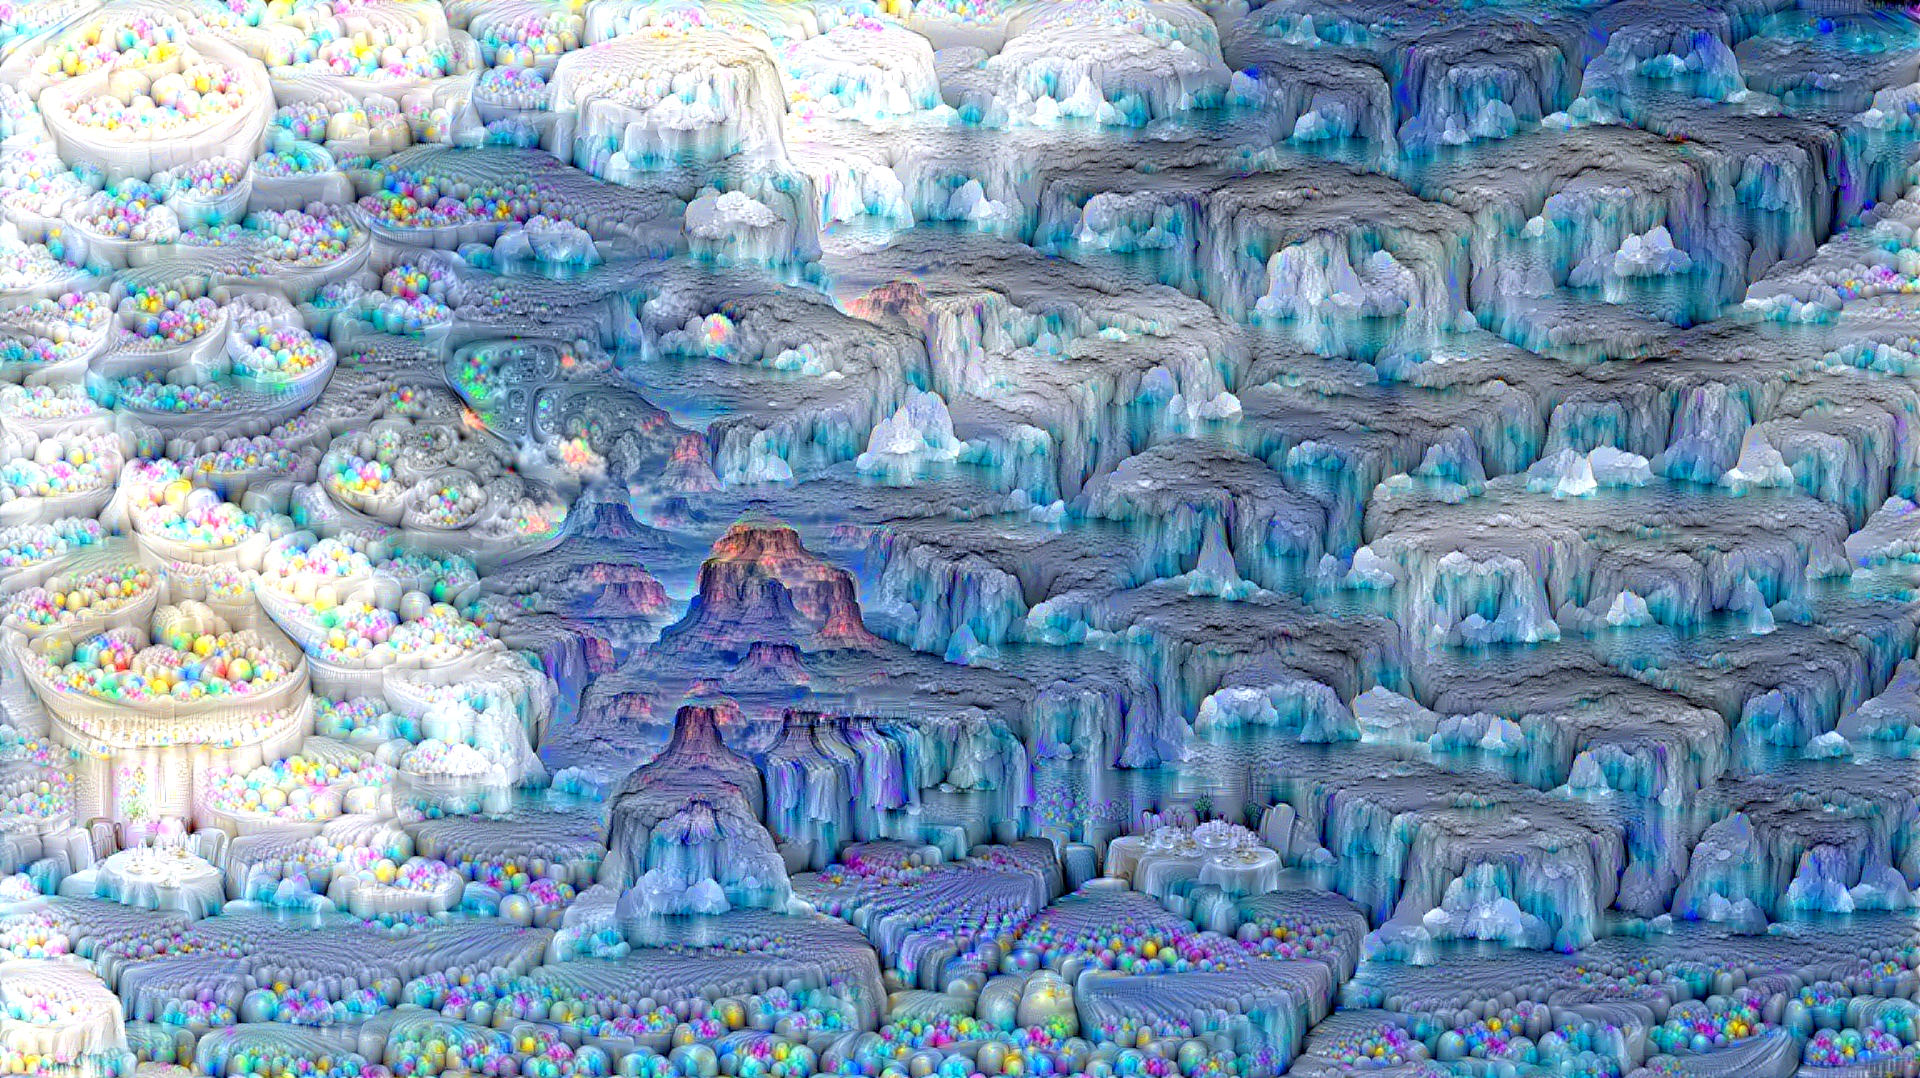 |
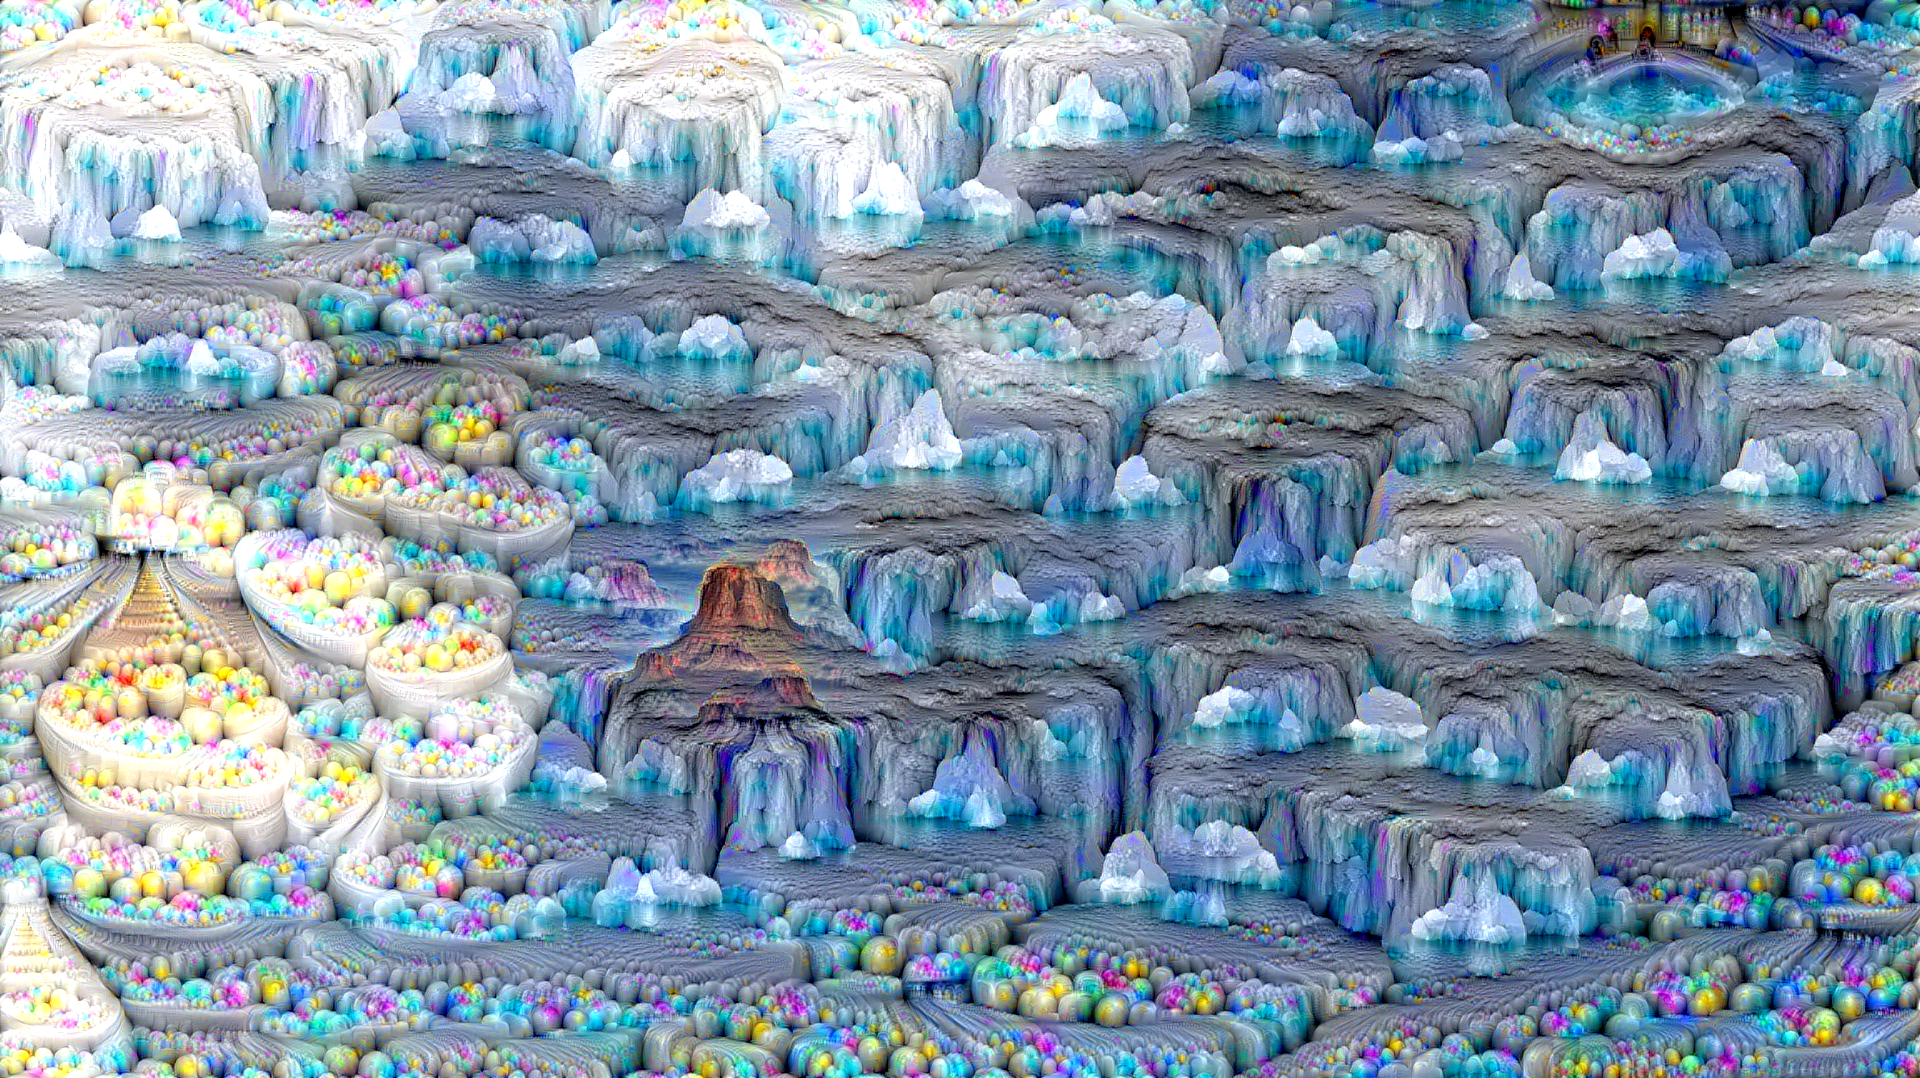 |
 |
The Core Mechanism
One the basis of maximize activation of designated layer for a single frame, I incorporated the optical flow algorithm from cv2 to detect the motion differences between each frame, and then use the motion difference to update the image. Here is the code snippet:
def calc_optical_flow(prv_file: str, cur_file: str):
    cur = np.float32(Image.open(cur_file))
    prv = np.float32(Image.open(prv_file))
    cur_gray = cv.cvtColor(cur, cv.COLOR_RGB2GRAY)
    prv_gray = cv.cvtColor(prv, cv.COLOR_RGB2GRAY)
    flow = cv.calcOpticalFlowFarneback(cur_gray,prv_gray,pyr_scale=0.5,levels=3,winsize=15,iterations=3,poly_n=5,poly_sigma=1.2,flags=0,flow=None)
    return flow

def apply_flow(current_img, flow, prv_img: str, cur_img: str):
    # current_img is tensor on GPU, need to convert to numpy
    img = current_img.detach().cpu().numpy()
    img = np.squeeze(img)
    # (c, h, w) -> (h, w, c)
    img = np.transpose(img, (1, 2, 0))
    # get difference between current image and original image
    prv = np.float32(cv.imread(prv_img))
    diff = img - prv
    # apply flow to difference
    diff = cv.remap(diff, flow, None, cv.INTER_LINEAR)
    cur = np.float32(cv.imread(cur_img))
    img = cur + diff
    np.clip(img, 0, 255, out=img)
    # return back to tensor
    img = np.transpose(img, (2, 0, 1))
    # unsqueeze to add batch dimension
    img = np.expand_dims(img, axis=0)
    # convert to tensor
    img = torch.from_numpy(img)
    # move back to GPU
    img = img.to(current_img.device)
    return img
Then, just apply the optical flow to the image and update the image with the flow difference.
Adjusting Parameters
There are several interesting parameters that can be adjusted and lead to drastically different results:
- model, the neural network model to use, this can have most impact on the final results as each network is trained on different dataset and has different architecture
- learning_rate, the learning rate of the gradient descent algorithm
- num_iterations, the number of iterations to update the image
- num_octaves, the number of octaves to generate the image
- dream_layers, the layers to maximize activation
- channels, the channels to maximize activation (default is all channels)
- predefined_start, the predefined image to start with (otherwise start with first frame of the video)
